

Gazebo Assembly: What a Kit Involves and How to Prepare
The short answer
A gazebo kit arrives as frame parts, roof panels or a canopy, hardware and instructions, and putting it up is the buyer's job; Moliser offers no assembly. Prepare a level site and the right anchors, line up at least two adults and the listed tools, check every part, and build on a calm, dry day.
Every gazebo we sell arrives as a kit, and putting it together is the buyer’s job or the job of someone the buyer hires. Moliser does not offer assembly or an installation service. Knowing what a kit involves before it arrives makes the day go better: the right number of hands, the site ready, the tools laid out and the weather on your side. This guide to gazebo assembly covers what the makers publish about their kits and how to prepare around it.
What arrives
A hardtop gazebo comes as frame parts, roof panels, hardware and instructions, usually spread across several heavy boxes. A soft top comes lighter: a metal frame in sections, the fabric canopy, netting or curtains and stakes. The makers publish different levels of detail about their kits:
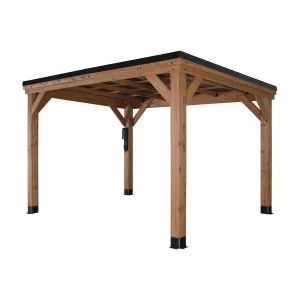
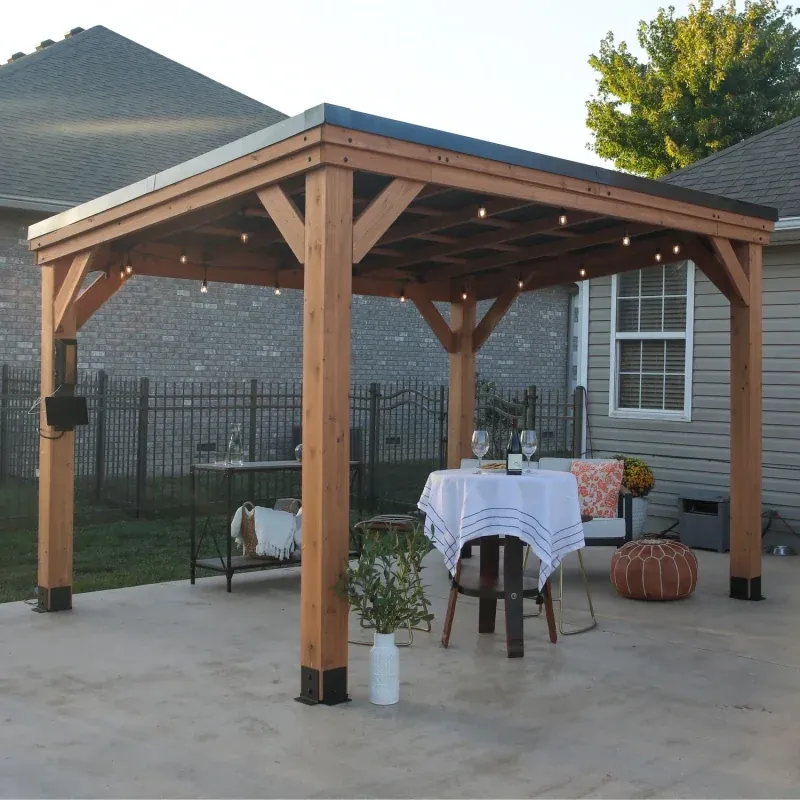
- The Arcadia 12×9.5 from Backyard Discovery arrives with every cedar part cut, drilled and stained at the factory, so the work on site is assembly rather than carpentry. Its instructions run in the BILT interactive 3D app.
- The Aoxun 10×12 pavilion lists its kit weight as 384.56 lb and states that assembly is required on site.
- The Laurel Canyon 10×10 soft top comes to about 87.5 lb all told, with eight stakes supplied.
None of our gazebo makers publishes an assembly time, and we will not guess one. Set aside a full working session and keep the next day open in case it runs over.
People and tools
A gazebo roof is raised overhead and has to be held square while it is fixed, which is not a one-person task. Plan on at least two adults, and more for a large hardtop where roof sections are lifted onto the frame. Read the tool list in the instructions before the day; typical kits call for a drill or driver, a socket set, a level, a tape measure, a step ladder for each person working at height, and a rubber mallet. If the anchoring goes into concrete, the fixings may need a hammer drill and masonry bits.
Protective gloves and eye protection are worth having on hand. Steel roof panels have edges, and cedar can splinter.
Prepare the site first
Many delays come from the ground, not the kit. Before the boxes are opened:
- Make sure the surface is level across the whole footprint, since a frame built on a slope will not square up.
- Confirm what the posts will be fixed to, and that the right anchors are ready. Some kits include ground stakes; fixings for a deck or slab may not be in the box.
- Clear a staging area beside the site where parts can be laid out in order.
- Check overhead for branches and wires that a roof panel could touch while being lifted.
Our article on gazebo foundations covers the surfaces and fixings in more detail.
Unpack and check
Open every box and check the parts against the list in the instructions before starting. A missing bracket discovered with the roof half up is much harder to sort out than one found on the lawn. Keep hardware in labelled containers by step, and leave the cartons until the job is done; they protect the finish of parts laid on the ground.
If something is missing or damaged, stop, photograph it with the packaging, and get in touch with us before building around it. Our FAQ explains how we help while you build.
Pick the right day
Wind is the enemy of roof work. A soft top canopy or a steel roof panel catches gusts, and a frame that is not yet anchored has none of its rated strength. Choose a calm, dry day, start early, and do not leave a half-built gazebo standing unanchored overnight if the forecast turns.
Follow the order
Instructions are written in a sequence for a reason: some joints are left loose until the frame is square and tightened only at the end. The usual pattern is posts and base first, then beams, then the roof structure, then the roof covering, then final tightening and anchoring. Check that the frame is square by measuring both diagonals; when they match, the frame is square.
After the build
- Fix the anchors exactly as the maker specifies. The wind and snow figures published for hardtops apply only once the gazebo is anchored that way.
- Go round every bolt again after the first spell of strong weather.
- Keep the instructions and any spare hardware with your records.
Frequently asked questions
Will Moliser put the gazebo up for me?
No. We sell the kits; assembly is done by the buyer or a local contractor the buyer chooses. We are happy to answer questions about what the maker publishes.
How long does a gazebo take to put up?
Our gazebo makers do not publish a time, so we do not give one. It depends on the kit, the crew and the site. A level, prepared site saves a lot of time.
For choosing the gazebo in the first place, see our gazebo buying guide or browse our gazebos.
What tools does a typical gazebo kit call for?
Read the list in the instructions first. Typical kits ask for a drill or driver, a socket set, a level, a tape measure, a rubber mallet and a step ladder for each person working at height; anchoring into concrete may need a hammer drill and masonry bits.
What if a part is missing when I unpack?
Stop before building around it. Photograph the gap with the packaging and contact us, because a missing bracket is far easier to sort out on the lawn than with the roof half up.